After creating the painting, I took a picture of it. Here is the unedited picture (kind of dark...I know):
Once I had the photo, I opened it up in Photoshop (PS) to do a little editing.
It's always a good rule to copy your background layer into a new layer (within the Layers window). Do this just in case you have to revert back to it (it happens more than you would think).
Once I had a copy of my background, I brightened the image. There are many ways to brighten a picture in PS, but I like to go to Image>Adjustments>Brightness/Contrast. In this case, I adjusted both the brightness and the contrast to brighten the whole image and to keep some of the texture from the paper...I like the texture.

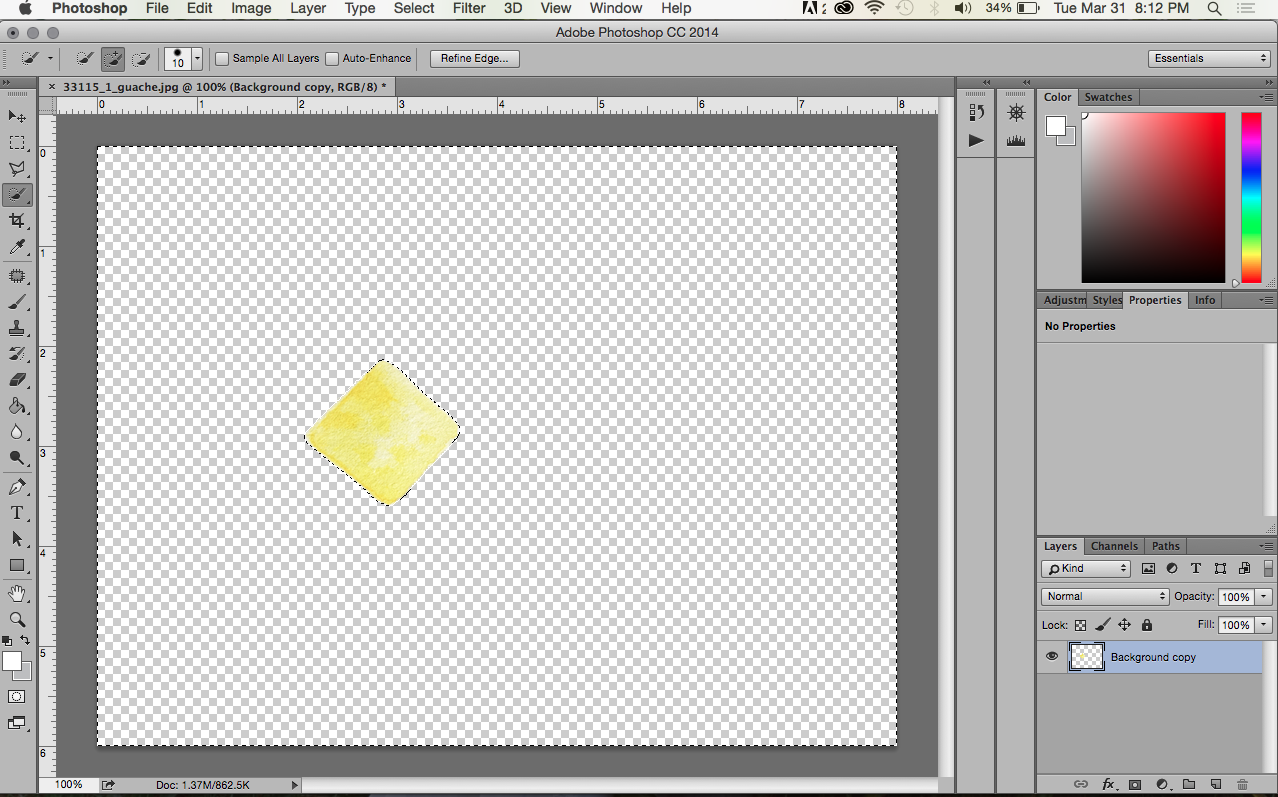
Next, I cut out the colored part of the image. I did this by using the Quick Selection Tool. I selected the portion I wanted (to subtract portions, just hold the Option/Alt key and select) and went to Select>Inverse. Now the portion selected is the background and not the colored part. I hit the Delete button to get rid of it so that my new background is transparent. (I also deleted the original background image.)
I wanted a transparent background in this case because the background on my blog is white, and it would be nearly impossible to get my .jpg image to replicate the same white. I also changed the size of the background to fit the pixel dimensions of my blog header: under Image>Canvas Size. I also added guides to my document so that I would be able to center everything easier.
Next, I layered the black graphics I made in Illustrator over the top of the colored portion. I opened my .eps file in PS and selected all of the layer (Command/Ctrl+A), copied it (Command/Ctrl+C), and pasted it (Command/Ctrl+V) into my already open PS document (seen above). With the Move Tool I could position the lettering where I wanted it. By pressing Command/Ctrl+T I was able to adjust the size of the graphics in relation to the yellow sign (remember to hold the shift key to avoid any stretching).
Once I had everything centered and the sizes I wanted, I save my file first as a Photoshop file or .psd. That way if I need to adjust anything in the future, I can edit the layers individually. I also saved the file as a .png. A .png is basically a vector type file for the web. It can maintain a transparent background (unlike a .jpg) and also retains the crisp edges that vector files are known for.
Pro-tip: Never use a .png file for print or you'll end up with a weird box around your image. Use a .eps instead.
That's how my logo was done, people. Let me know if you have any questions.


No comments:
Post a Comment