Monday, March 13, 2017

FROM THE STUDIO: CREATING ILLUMINATED / ORNAMENTAL LETTERS

Knackfuss, H. Dürer (Bielefeld, DE: Velhagen & Klasing, 1900)

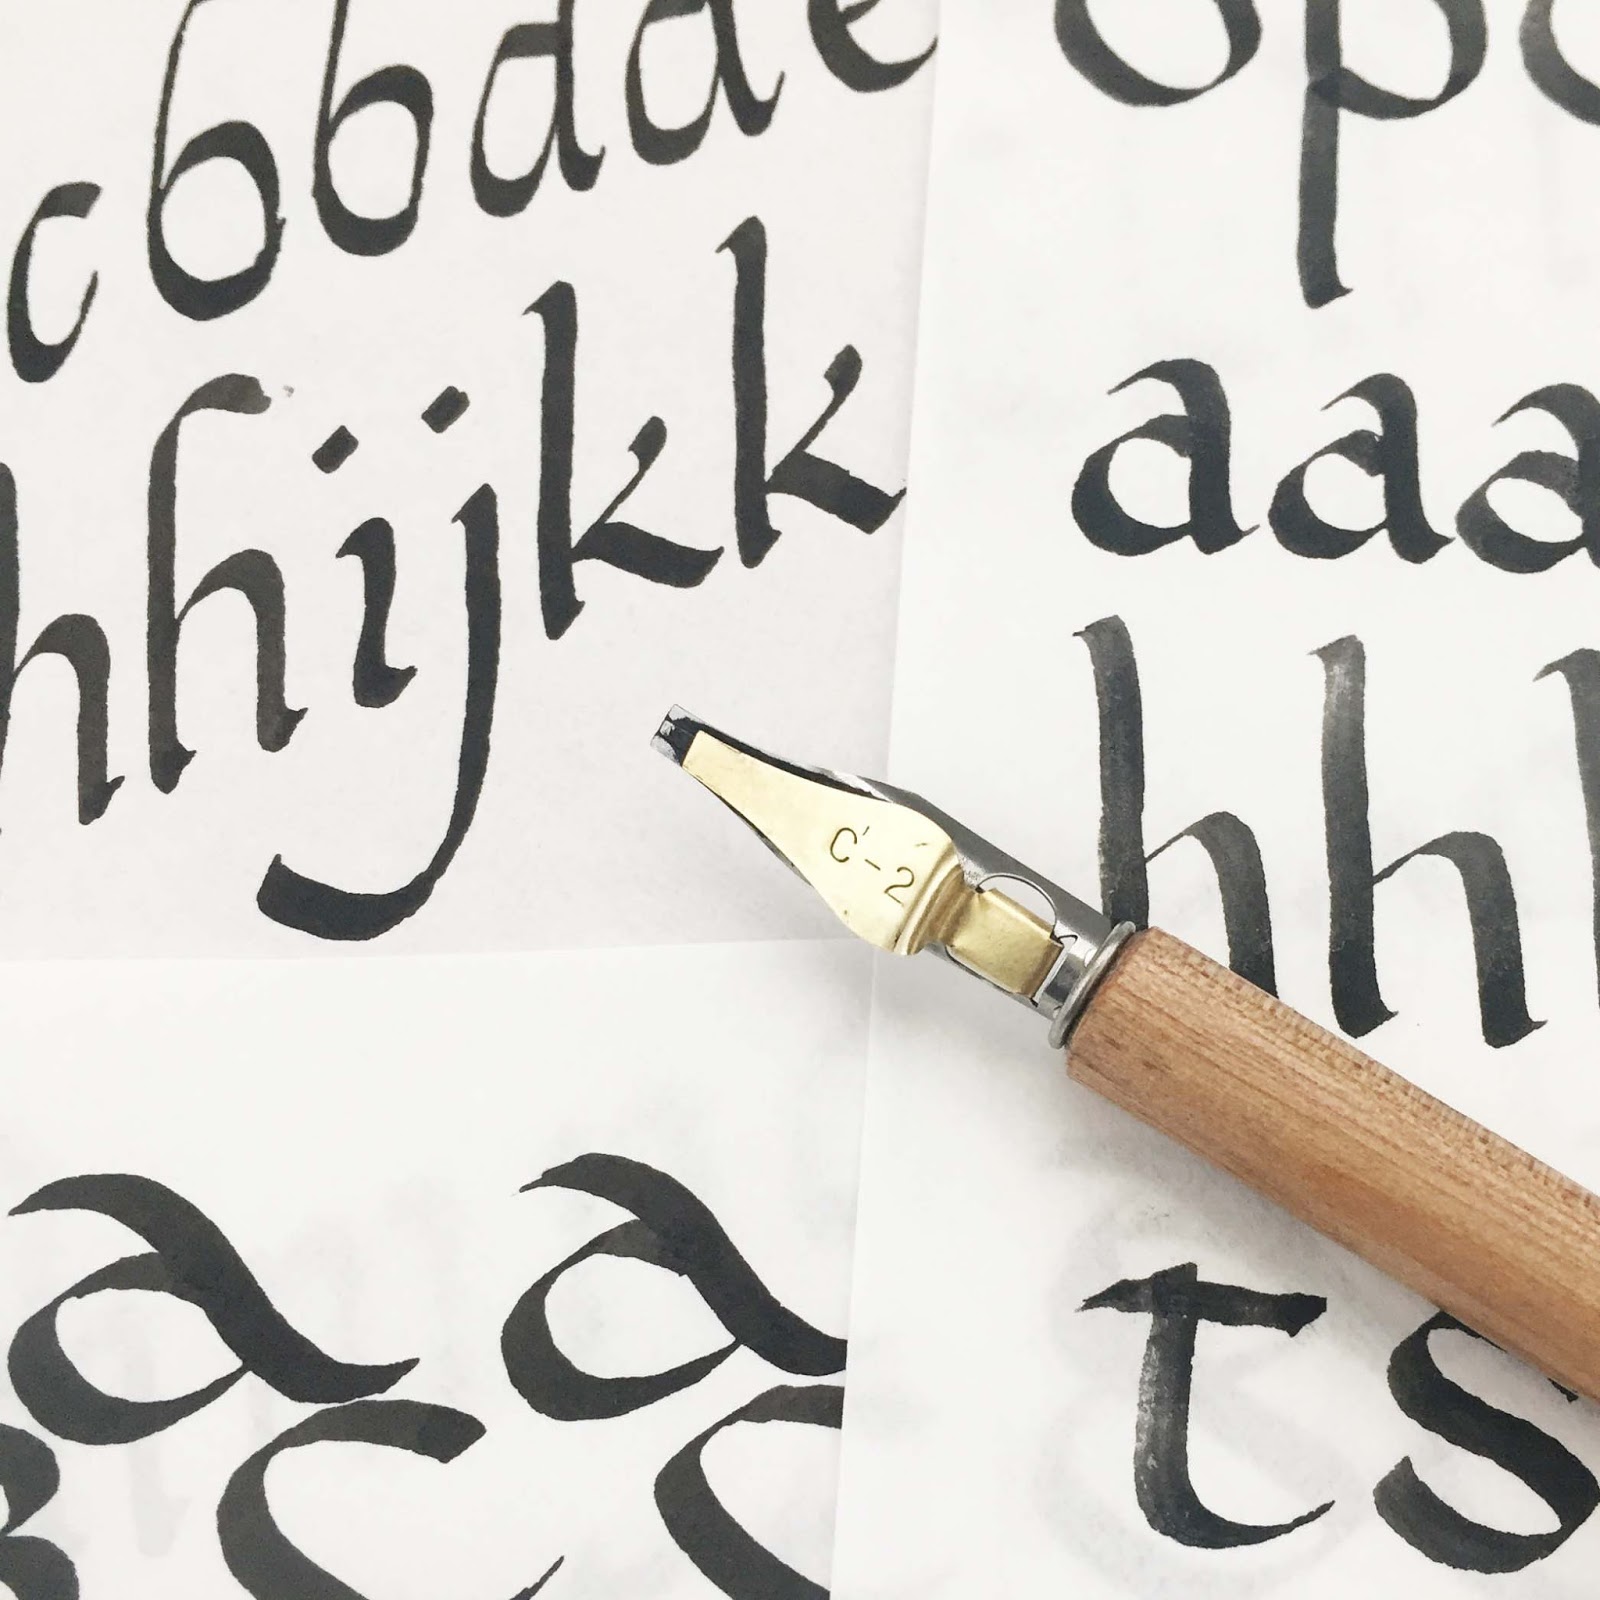
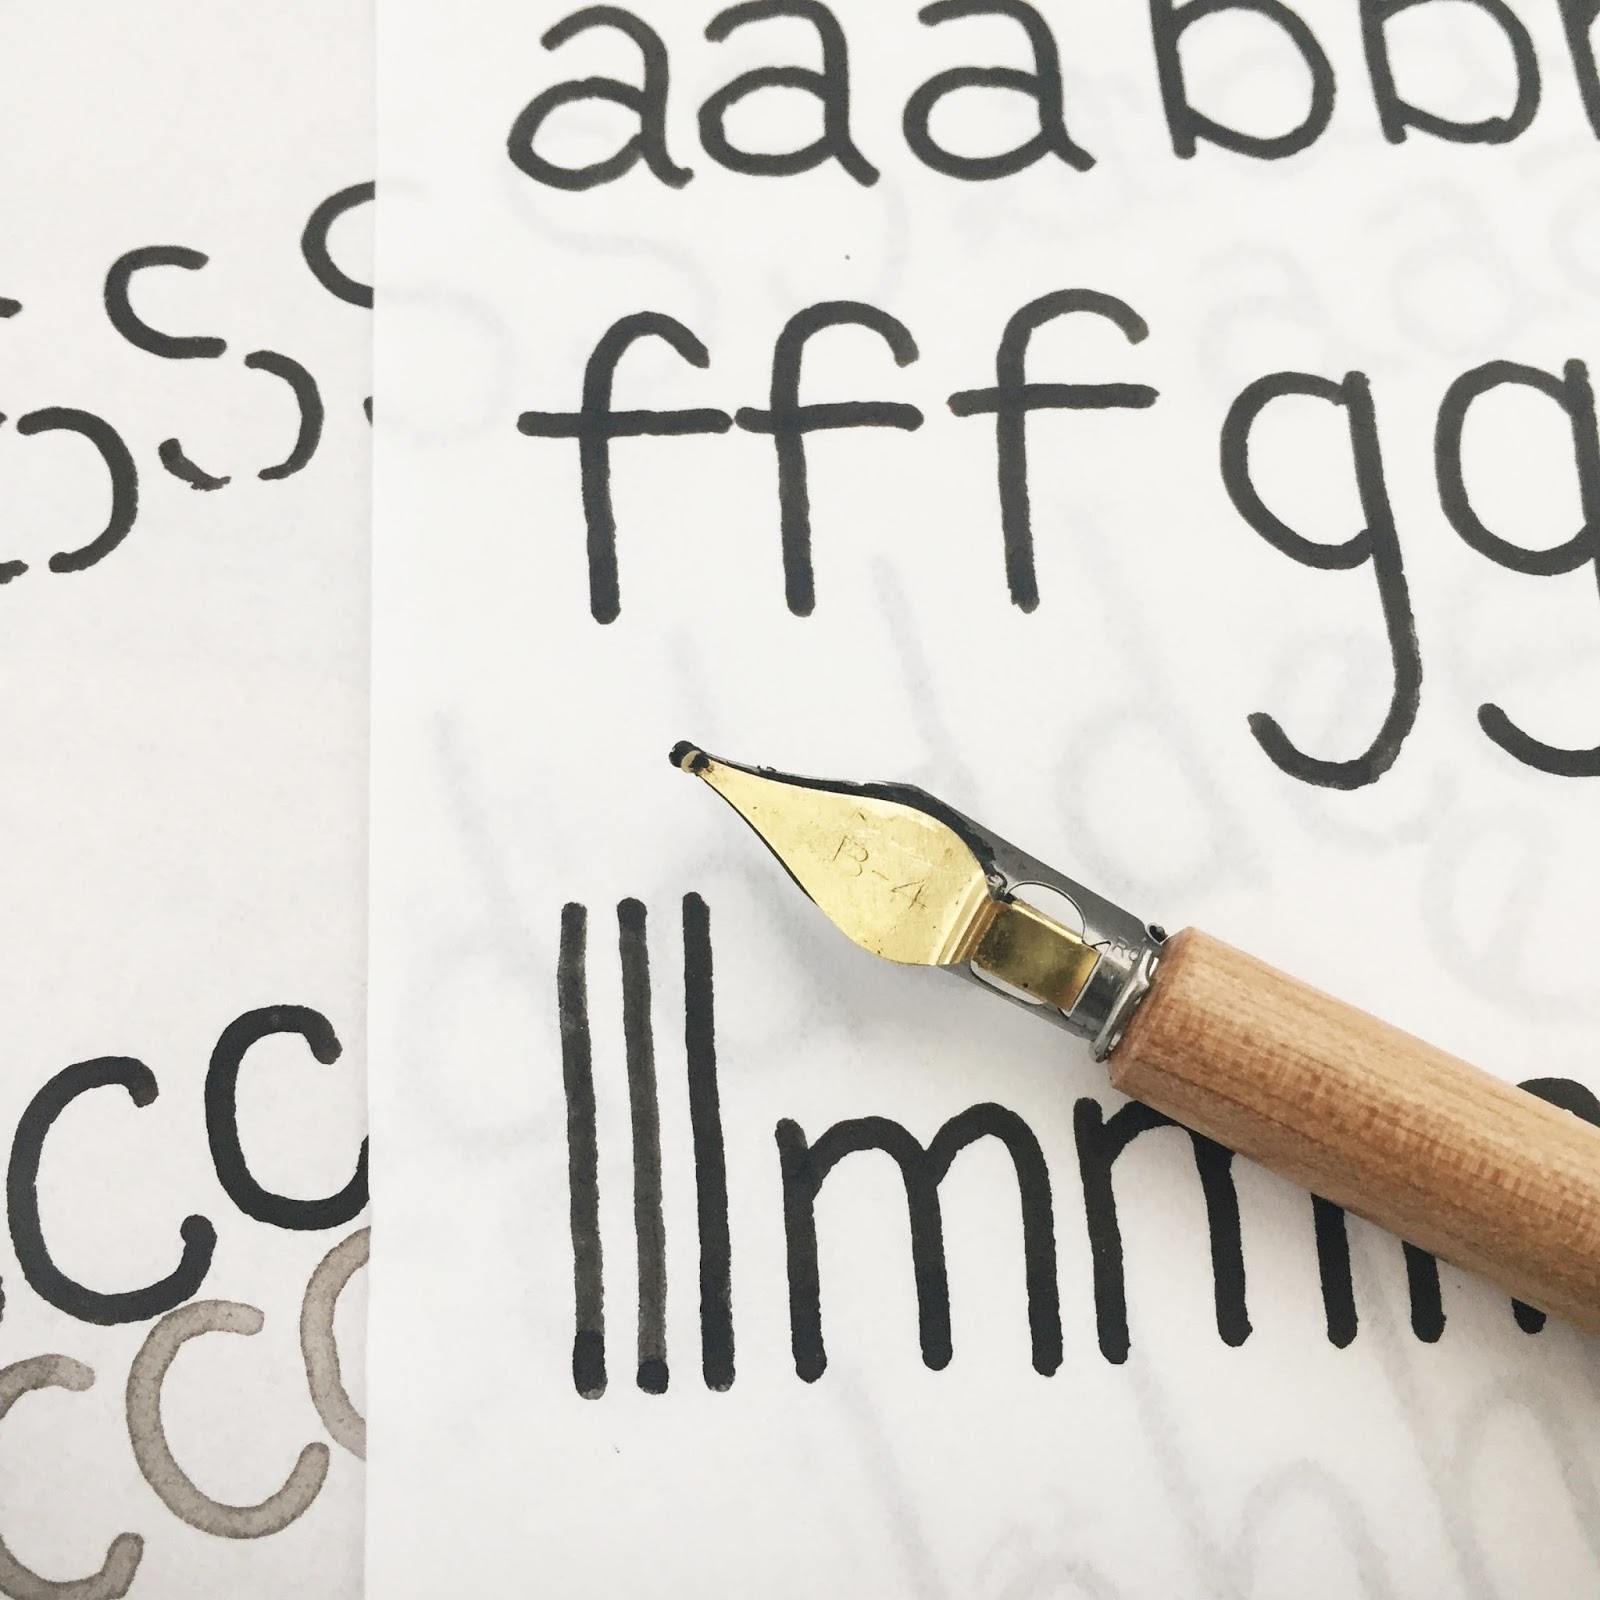
Since I have been reading so many calligraphy books lately, one topic I see mentioned over and over again is that of creating illuminated letters. Illuminated letters are those that are decorated, usually with gold leaf and other colors. They were typically the first letter of a page or paragraph that was enlarged and supplemented with images like animals, plants, or mythological creatures. Other terms that could be used to signify an illuminated letter are decorated letters or ornamental letters.

While researching this topic and looking into to so many variations of letters throughout the centuries, I decided I wanted to make some letters of my own. I've been busy sketching out lots of ideas and writing a list of goals that I want to accomplish with my letters.


Something that I decided not to do was the actual "illuminated" part. I really like the idea of keeping it simple by having plain black and white ornamentation without the coloring (which I think can look gaudy at times, but hey, that was the style at one time). I would not be opposed to adding gilding or embossing, but I don't have the materials for it at this point. Maybe that's something I can think about for the future, but for now I think it's plenty challenging to create an ornamental letter in one color.

Another goal I want to achieve with my letters is that I want them to have a modern feel. That was also why I decided to leave out any coloring and go with just black and white. An additional way I thought to make my decorated letters more modern was through the imagery. I still wanted to keep the letters ornate and detailed, but I didn't think having cherubs or dragons was a way to do that. Instead, I've planned to used succulents as the basis for my background decoration. Succulents still keep with traditional plant decoration, but they have become increasingly popular as of late.

I believe I have a final sketch ready for my ornamental letter A. I don't intend to leave this as a drawing though. How could I? I love printmaking, and the boldness of these letters are just asking to be carved and printed from a block. So that's what I'll be working on finishing soon.


Friday, March 03, 2017

PERSONALIZED WEDDING ANNIVERSARY MILESTONE GIFT


My parents are reaching a significant milestone in May. They will have been married for forty years! That's a pretty long time and quite a remarkable accomplishment if you ask me. Marriage isn't always the easiest, but they've managed to make it work. For their anniversary I made a hand-lettered design as a gift they can display in their home.

I've made similar ones to this in the past for my in-laws and a card version for mine and Caleb's first anniversary. (I know, I know, my math was wonky on these.)


Friday, February 24, 2017

LEARN CALLIGRAPHY: WHAT TO BUY WITHOUT BREAKING THE BANK


As a child I remember finding an old Speedball Textbook at my house and gushing over the various styles of lettering within its pages. I've always had a strong interest in type and letters, and now it seems as though calligraphy (once a lost art) is trending again.

Calligraphy is something I knew I could do, but I had no clue where to begin or what supplies I needed. So I signed up for a six-week beginner's calligraphy course which was taught by a very revered calligrapher with remarkable talent. I really enjoyed the course, but honestly, I could have attended just one or two days of class and figured out the rest on my own. I just needed some basic information and understanding on how to use the supplies properly.

If you're somewhat artistic and you'd rather not spend money on a course, it would be fairly easy to teach yourself as long as you are diligent about it (as with anything). The supplies you should buy to start out are very basic. As you dive into the art further, you may decide to expand or upgrade your collection. That way you will not have spent a fortune on something you realized you did not like at all. If you're one of those people who needs a teacher to start, there's nothing wrong with that either. By all means, find a teacher near you, and take a course!

......

Here are my suggestions for the very basic calligraphy supplies if you're just beginning:


INK: Pelikan Tusche A Drawing Ink - Black (nice and intense black, easy to apply to nibs)
NIB HOLDER: E+M Two-Way Wood Nib Holder (just one that I like...you can always go cheaper)
PAPER: Bienfang Graphics 360 Marker Paper (beautiful bleed proof paper that's easy to see grids through)
MARKER: Itoya Doubleheader Calligraphy Marker - Black (for extra practice without having to re-ink)
NIBS: Speedball C-2 and B-2 (choose for left or right hand)

BOOKS: (I found many calligraphy books at my local library instead of buying them.)
20th Edition Speedball Textbook for Pen and Brush Lettering
The Calligrapher's Companion by Mary Noble & Janet Mehigan
Learn Calligraphy by Margaret Shepherd
Calligrapher's Bible by David Harris

.......

I would recommend learning some foundational scripts first (i.e. types of gothic or roman script).
With these tools, as well as some others that you probably have (i.e. pencil, ruler, eraser, scrap paper), you're ready to start learning. These supplies will get you far enough in practicing those until you understand the basic concepts of calligraphy.


Your hand may get very sore with your first attempts, but it's worth it to keep pushing through. Just give yourself rest between practice sessions. Researching some hand exercises may also help to strengthen those writing muscles! Nowadays we don't use pen and paper enough. Our hands are weak, but they can always get stronger by working with them more.

Hopefully this is helpful information for those who have no idea what to get or where to begin.
Now get to practicing! Happy writing!!

Friday, May 15, 2015

FROM EAST COAST TO WEST COAST


The last few weeks have been busy ones as we have been saying our goodbyes for the summer and packing up to drive across the country. We've enjoyed many parties and bonfires with friends as we are preparing to go separate ways for now.

Caleb has a summer internship in the San Francisco Bay Area, so we will be there for 10 weeks. Neither of us has ever been to California so it should be a good adventure. To make it more adventurous (and because we will need a car), we are driving there. From New York to California. Over 3,000 miles. Over 40 hours across the United States of America.
We've already started the journey even though we don't have to be there until June 1st. A long trip like this is probably better done in segments. We're planning to see many friends and family along the way.


Our first stop was Nashville, TN. Since I used to work in Nashville, I have former coworkers and church friends that we stayed with and met up with to say hello. I can't believe it has been 1.5 years since leaving...it's a great city.

Of course we couldn't stop in Nashville without venturing back to the very spot where we got engaged: the Shelby Street Pedestrian Bridge. {Side note: why don't they shoot a Batman movie in this city? It would be perfect with the AT&T Building! You can see it in this picture, but not from a good angle...just Google it.}

Also, I had to see Hatch Show Print again because I'm a print nerd.

Sunday, May 03, 2015

EXPLORING THE FARMERS MARKET


This weekend Caleb and I finally ventured out to the Farmers Market. I think it's a very pretty place to go with all of the fresh produce and products from all types of vendors. And this market is also right on the lake, so that's a major plus for aesthetics. It makes for a nice and relaxing stroll, especially when the weather is pleasant like it was this weekend.

When it comes to Farmers Markets (or really any type of shopping outside of grocery), I'm strictly a browser. It's just that I don't need a whole lot...especially if I'm in a store for the first time. I like to see what's available and make a mental note so I can come back if I ever need/want what's being offered. I prefer to make informed purchases, and I should probably mention that I'm pretty frugal. My hard-earned money more often is saved than spent. But I don't regret any of that one bit.

One thing that I enjoy about exploring, whether it's the Farmers Market or anywhere, is the new perspective I get. Exploration = Inspiration. Seeing new things or doing new things helps to bump my creativity up a notch. I think that's one reason why I have decided to keep a blog. I hope it encourages me to keep looking for the new in life, even everyday life. And I hope to translate that inspiration into more artwork, since that really is my trade.

I miss doing art. I'm a creator at heart. I like to say, "Hey, I made that!" I've known that about myself since I was very young, so I don't think it's ever going away. Hopefully I can share new projects I'm working on very soon...but there may also be a lot of exploring before that happens :)